Introduction to QRZ.com
QRZ.com is perhaps the most comprehensive callsign database out there. In my five years as a radio amateur, I have only found a handful of stations who are not registered on the database. After signing up to QRZ.com, you are asked to add basic information to your profile such as your name, address (or general area) and grid square. As well as this feature, you are provided with a blank HTML biography where you can add as much information as you would like.
In this guide, I will cover the essential information to add to your QRZ.com page, how to format your biography and how to add handy tools to your page to allow stations searching your callsign to find out more about your operation.
This guide will assume that you have already set up your QRZ.com account and claimed your callsign. If not, you may find my “After Receiving your Callsign” guide useful. You can find this HERE (link opens in new tab).
The Basics of QRZ – Adding Essential Information to your Profile
Basic Callsign Data
On your QRZ page, there are four main tabs as shown below. The “Web” page is optional, and enabling this in the settings will allow stations to leave their callsign and a short greeting.
The Biography tab provides a blank HTML page for you to leave any information you choose to. I will cover the recommended information to add here later in the article…
The Detail tab shows specific information relating to your station.
The Logbook tab shows your latest QSOs (providing you have set up automatic logging). If you haven’t already, take a look at my QSLing guide HERE (link opens in new tab) for more information on how to configure automatic logging.
The Awards tab shows the free awards you have received. You can claim these if you upload your logs to QRZ.com and meet the criteria. Applications for these awards are available in your QRZ logbook.

Detail Tab

Within the “Detail” tab, it’s important that you provide the correct information. Electronic logging software uses this information to display your callsign correctly, for example within a map. When a station uses electronic logging, it will fetch your Gridsquare, DXCC (country) and CQ/ITU zone and add this to the user’s log. If you display incorrect information here, this will reflect in your contact’s log.
Adding your Gridsquare
The first important piece of information to add to your “Detail” tab is your Maidenhead Gridsquare. These comprise of either 4 or 6 characters, the latter being more specific to your home location. For example, my square is IO94HT, as displayed in the image above.
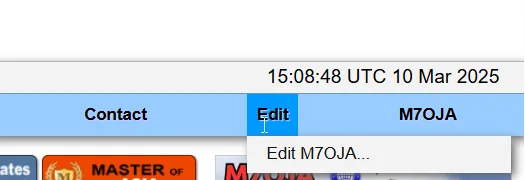
To add your Gridsquare, navigate to the “Edit” tab and click on “Edit xxxxx” as below.
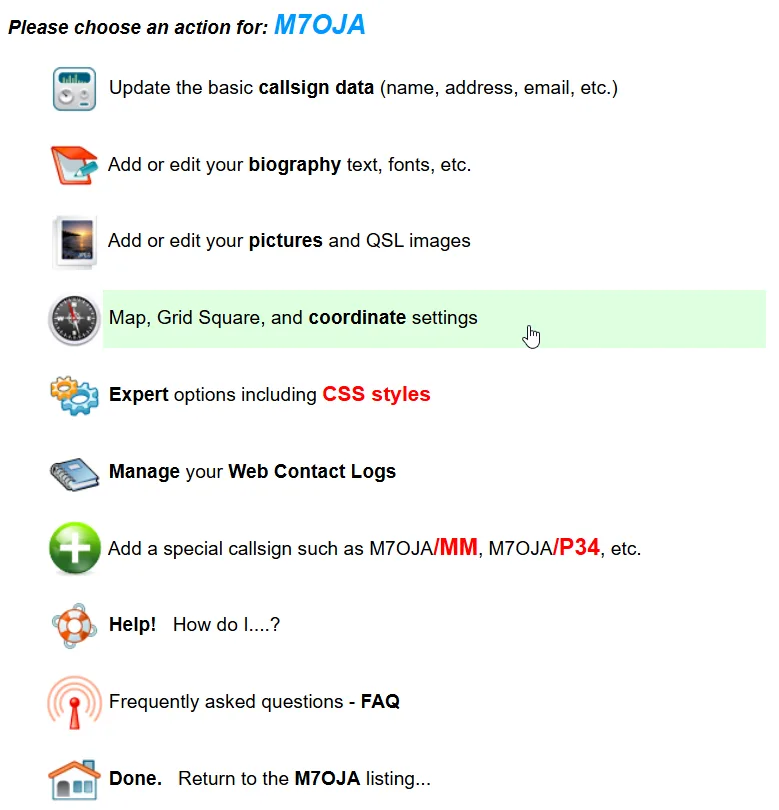
Next, navigate to “Map, Grid Square, and coordinate settings” as below.
Next, navigate to the “Grid” box and add your Gridsquare. If you don’t know it, you can type your address HERE (link opens in new tab) to find yours. You can also add your co-ordinates on this page. See below:
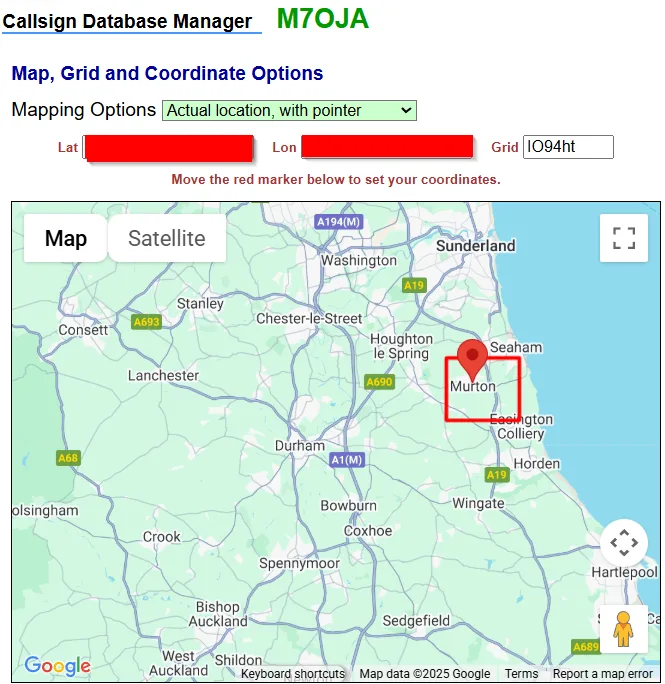
Save this, and now your profile will display your correct Gridsquare to anyone searching your callsign.
Adding Other Info
Next, if you haven’t already, you will need to add your address and country details to QRZ. You do not need to provide your full address, however there is the option to. If you choose not to add your full address, you will need to provide your rough area (for example your local city). Please see the instructions below for how to add this information:
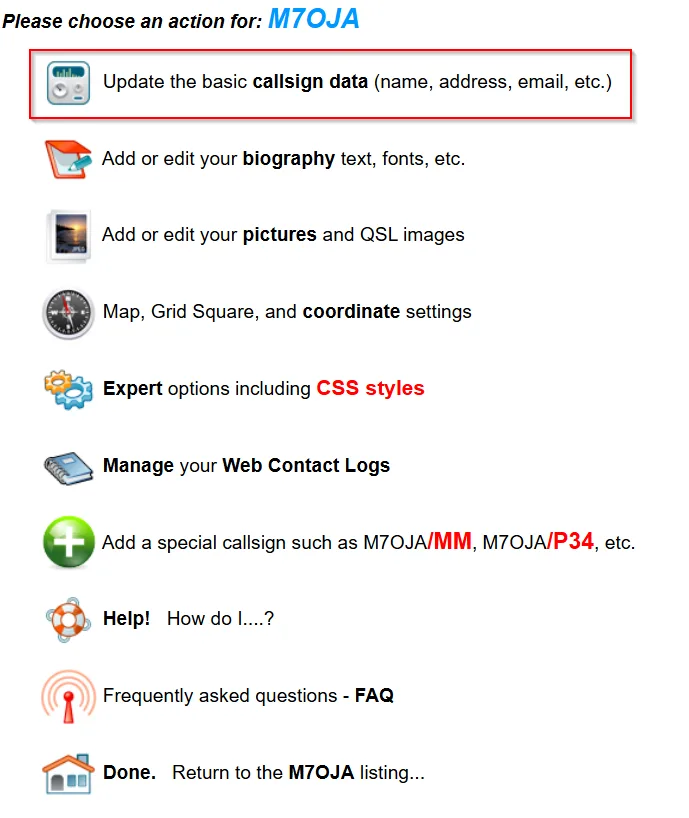
First, navigate to the Callsign Edit section as before. From here, select “Update the basic callsign data (name, address, email, etc.)“.
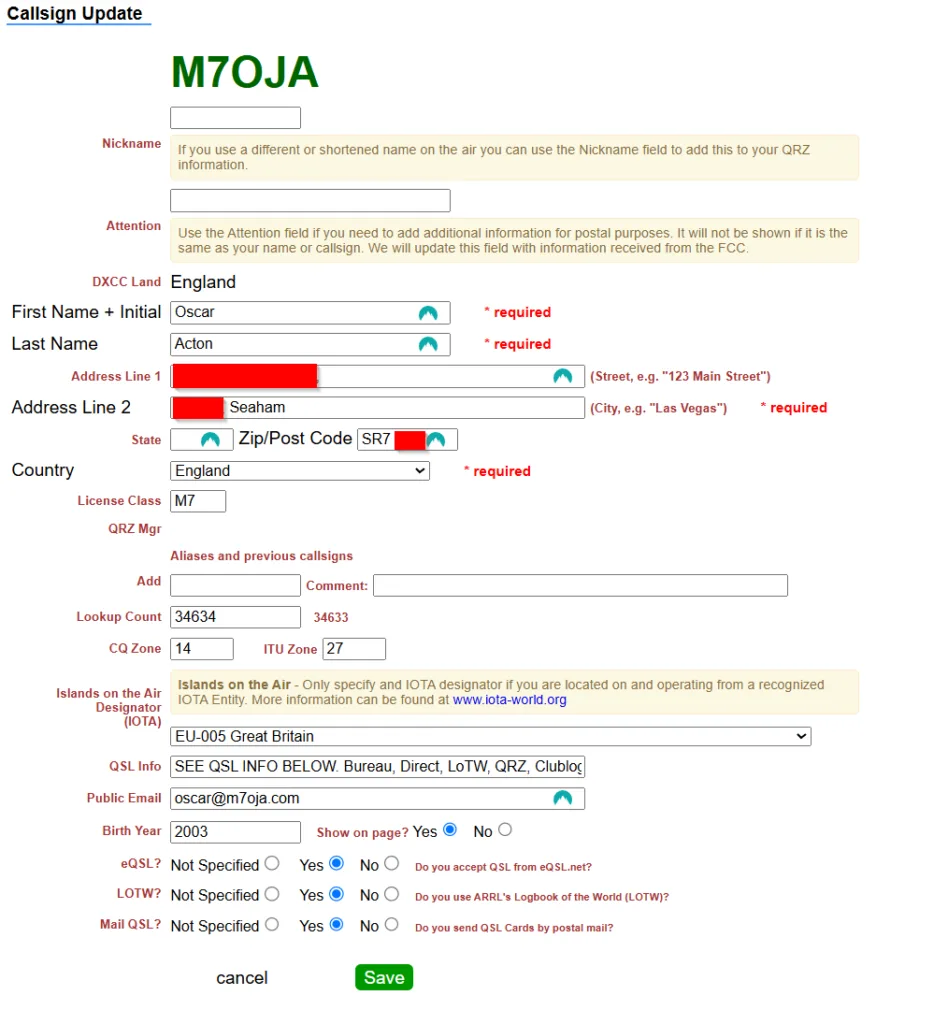
On this page, you can add your station information. First, make sure your country is correct in the address section. Add your name (usually first+last but you can just add your first if you’d rather). Make sure that your CQ zone and ITU zone are correct (you can find yours HERE). You can then add your Islands in the Air (IOTA) reference, your QSL information (see my QSL guide HERE for more information on QSL methods).
You can add your email address (important if you wish to receive digital QSLs by email), and set your preferences for eQSL, LOTW and Mail QSL (these settings are important also, as automatic logging software will fetch this information).
Adding a Biography to QRZ
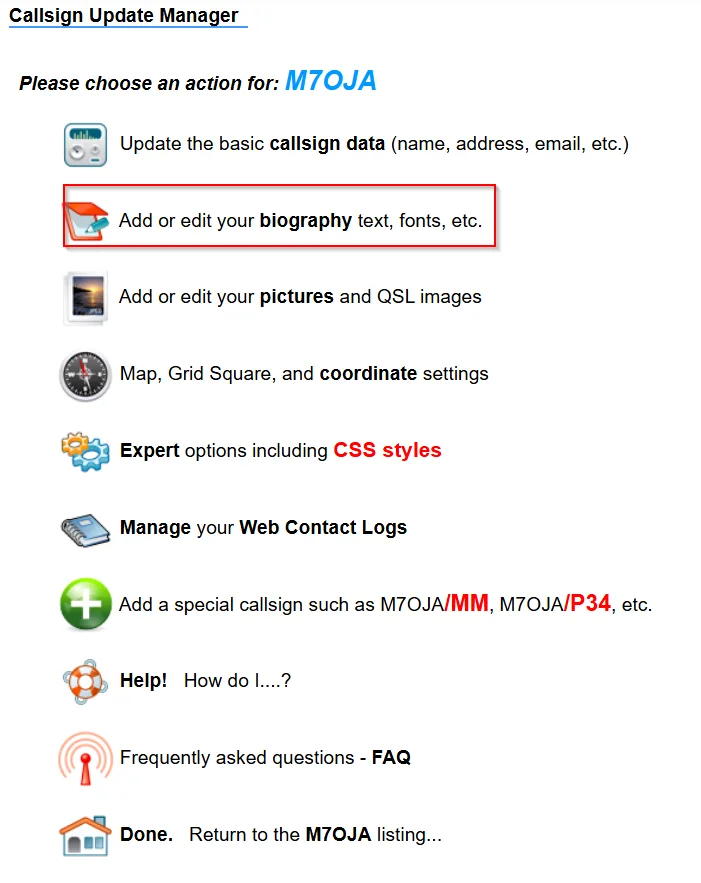
The Biography section on QRZ is a blank page for you to use as you wish. Please see below for how to edit your Biography:

You will now be presented a blank page to add text to. If you wish to add any source code (embeds) you can click the source button as highlighted in the image below. I will cover how to add embeds later in the article.

Useful Information to Include in your QRZ Biography
Many amateur radio operators will search your QRZ page during a QSO to see more about your station. It is recommended to add the following information to your biography:
- A Brief Introduction to your station – how you got into the hobby, your favourite modes/bands/contests/activities, etc.
- Your Operating Conditions – Antennas, Radios, Microphones, Amplifiers, etc.
- Your Station References – CQ Zone, ITU Zone, Gridsquare (although you have added these to the “Detail” tab, it’s helpful to have them here also).
- Your Specific Country References – These are references for national award schemes. In my case (England), I have included my Worked All Britain (WAB) square.
- Your Clubs and Associations – Any local, national or international clubs you are part of, any memberships you have, any contesting groups you are part of, any award schemes you chase, etc.
- Your QSL Information – Be specific. Include any electronic confirmations you use (QRZ logbook, Clublog, Ham365, HRDLog, LoTW, eQSL, etc.) and your paper QSL preferences (direct, bureau, QSL manager, etc.). It is important to specify whether you require a Self Addressed Stamped Envelope (SASE), Green Stamps (USD) or any other form of remuneration for sending a paper QSL.
- Any Awards, Diplomas or Certificates you have received. You can list them or upload an image (more on this in the next part of this article).
- Any otherinformation you would like to share with your callers about yourself, whether related to the hobby or not. Some people share their occupation and other interests.
You can see an example of a QRZ biography by searching for any callsign, or you can access mine HERE (link opens in new tab).
Adding Images to your Profile
Image Gallery
As part of your QRZ.com account, you get access to a photo gallery for your callsign. Here, you can upload any photos you wish to display on your Biography, and you can set a featured image. To access the image gallery and upload images, see below:
Next, navigate to the “Add or edit your pictures and QSL images” section, as below:

Any images you have uploaded will be shown in your gallery. To add a new image, select the “Choose File” button as highlighted below:
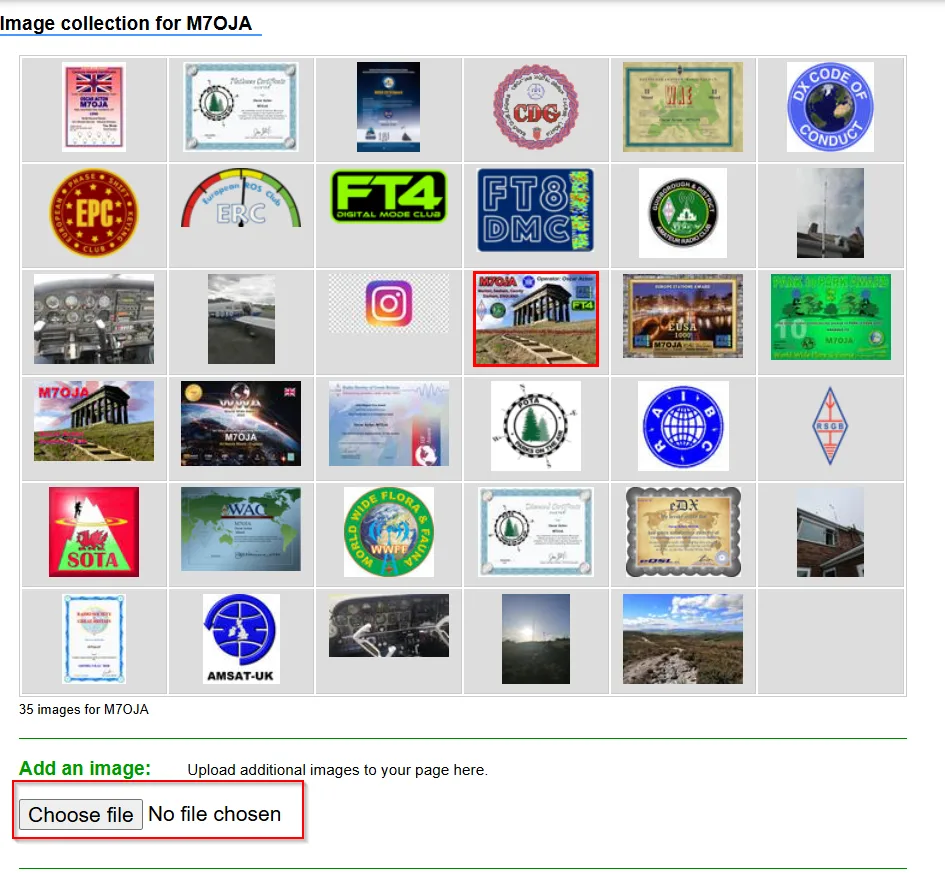
From here, you can choose any supported image type from your local computer and upload it. Please note that you CANNOT upload a .pdf file. If you wish to add a PDF, open it and take and save a screenshot of it, then upload the screenshot (.jpg or .png) to the Image Gallery.
Inserting Images to your Biography
To add an uploaded image to your Biography, follow the images below:
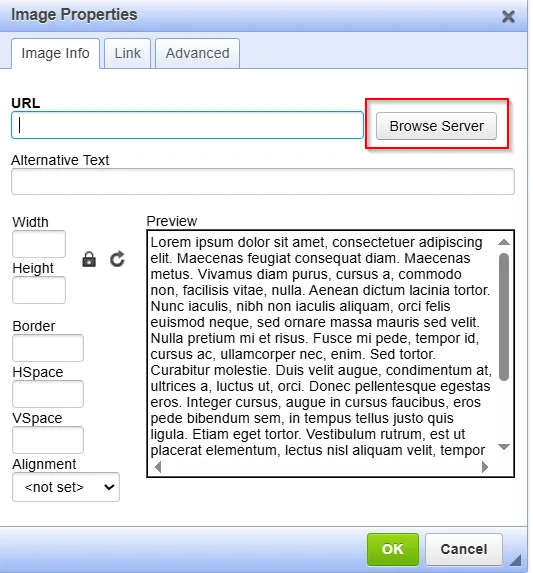
To insert an image, click on the part of your Biography where you wish to add the image. Then, select the image icon as below:

Now, select “Browse Server” as below:
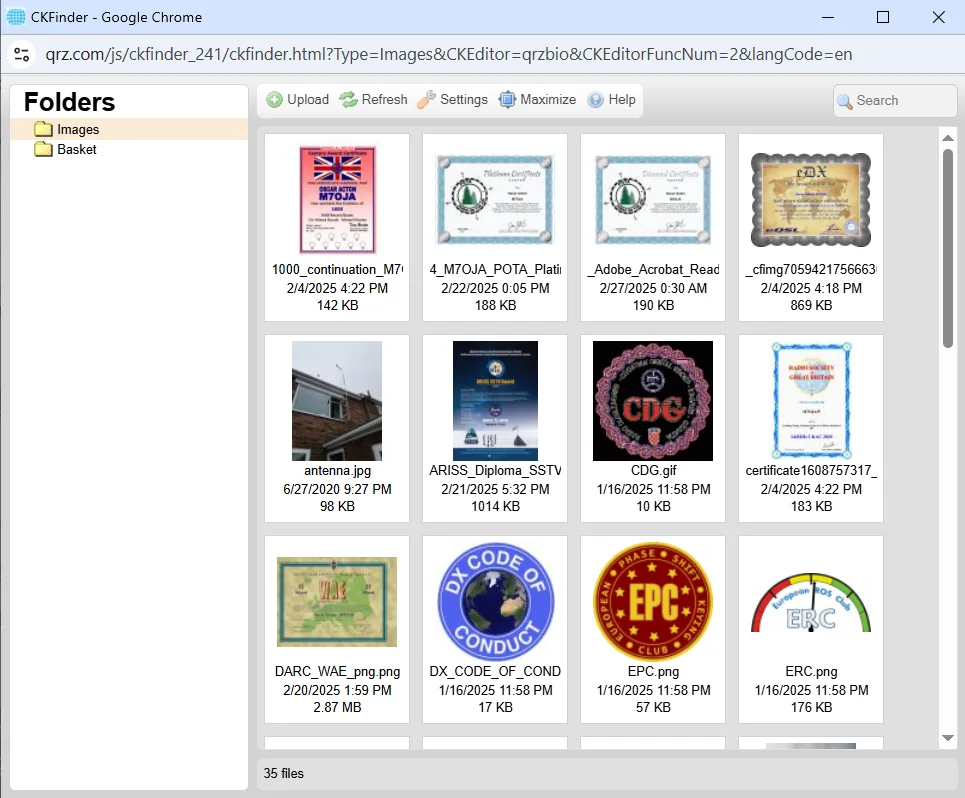
Any images you have successfully uploaded will show below. Select the image you wish to upload and double click.
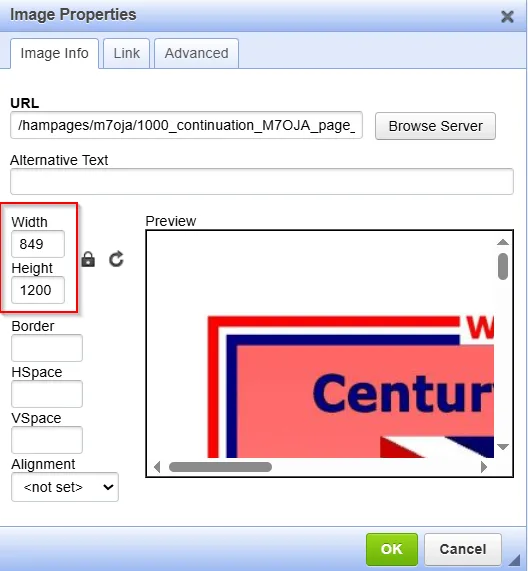
Finally, adjust the width and height of your image. If you change one, the other changes automatically in ratio. I normally set my Width to 600. When you are finished, click the green “OK” to insert the image.
If you have followed the above steps correctly, your image will now be showing in your Biography. Don’t forget to click Save!
Primary Image
You have the option to set a “Primary Image” which will display in the top right of your QRZ Biography.

To set your featured image, navigate to the Image Gallery as shown in the previous steps. From there, select the image you wish to use as your Primary Image, and select “Set As Primary” as shown below:

The image you have chosen will now show in the top right of your Biography. The image will also be pulled by electronic logging software suites when your callsign is entered. An example of this from my chosen logging software, Log4OM, is shown below:

Embeds
If you are looking to further enhance your Biography, QRZ allows for source code to be embedded to your page. This means that you can add external sources to your Biography, including live cluster spots for your station, POTA statistics, log searches and more.
To embed external code:
- Visit your “Edit Callsign” section.
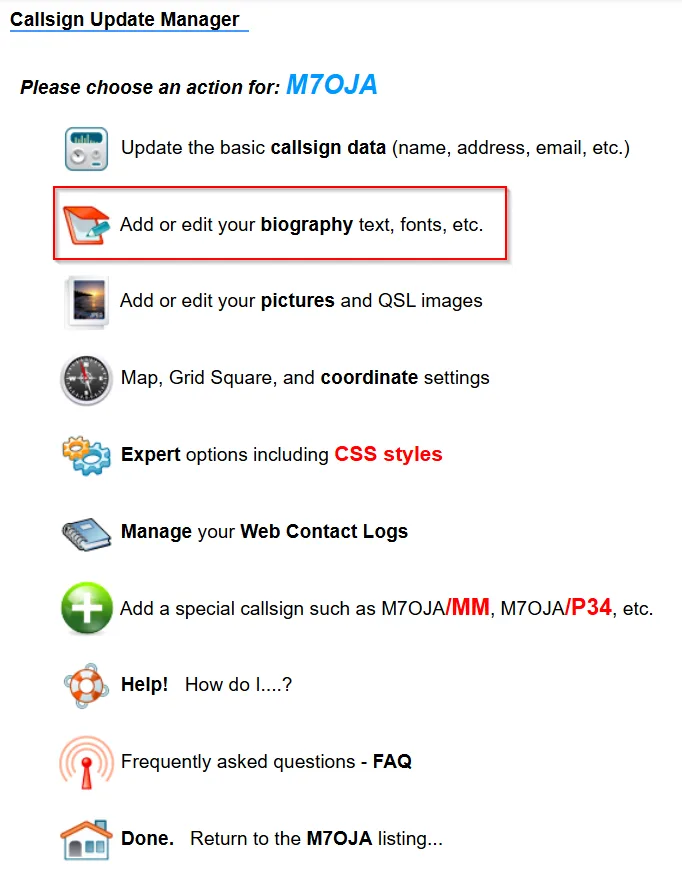
- Select “Add or edit your biography texts, fonts, etc.“
- Click the “Source” button as below:

Now, paste the source code in the section of your Biography where you would like it. After saving your page, the function you embedded should show up.
PLEASE NOTE: You may need to change the callsign from the default to your own in the source code.
Below, I will cover some of the useful functions I have found, and explain how to create an account, prepare the source code and embed it.
HamAlert
HamAlert is a service linked to the DX Cluster which allows you to receive custom alerts when stations are spotted on the air. It is useful for chasing DX, POTA contacts and stations local to you. Spots can be sent as a push notification to your mobile phone (with their free app available at the Play Store and the App Store) or via Telnet (useful for adding to your electronic logging software).
HamAlert also offers a feature where it will monitor the DX Cluster for your callsign, and a tool can be embedded within your QRZ page to show viewers which frequency you have most recently been spotted on.
To start, create a free account on the HamAlert website HERE (link opens in new tab).
Next, navigate to your callsign on the top bar, and click it, as below:

You will then be shown an example of what the tool will look like when it is embedded on your page. You can choose between the light and dark theme. See below:
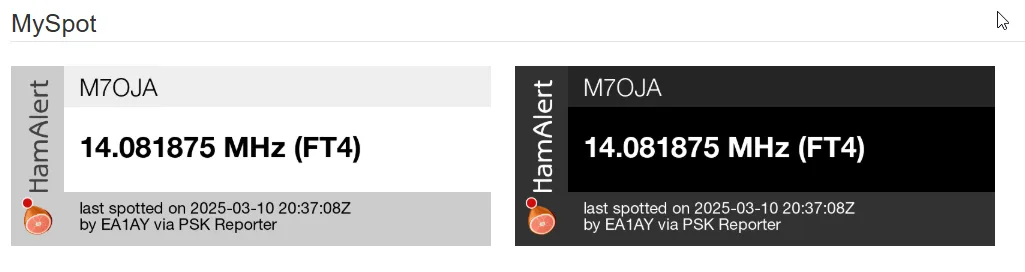
To embed, copy the text for either the light or the dark theme and paste it into your QRZ biography (making sure you have clicked the “Source” button first). You can see an example of the text below:

Clublog
Clublog is a log management service providing two main features. The first is to allow stations to check if they are in your log. The second (optional) feature is to allow other stations to request a QSL card from you.
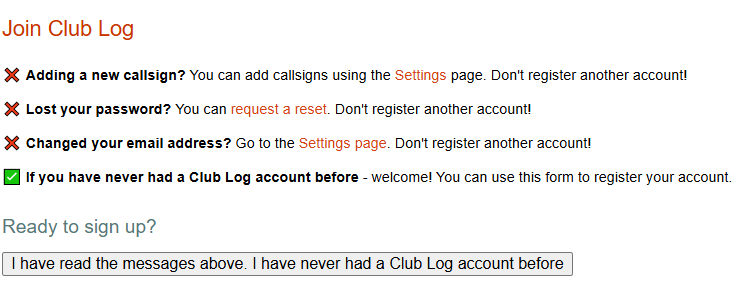
Clublog provides a widget to embed in your QRZ page allowing for log searching and Online QSL Requesting (OQRS).To start, create an account at the Clublog website if you haven’t already got one. You can do this HERE (link opens in new tab).
The tools on Clublog will only work if you upload your logs. You can do this automatically from your logging software. If you haven’t already done this, you can visit my QSL guide HERE to find out more and set this up. Please note that all logging software is different, so follow the instructions from the manual of your chosen software on how to automatically log to Clublog.
Once you have an account and you are set up to automatically upload your logs, visit the Settings page as below:
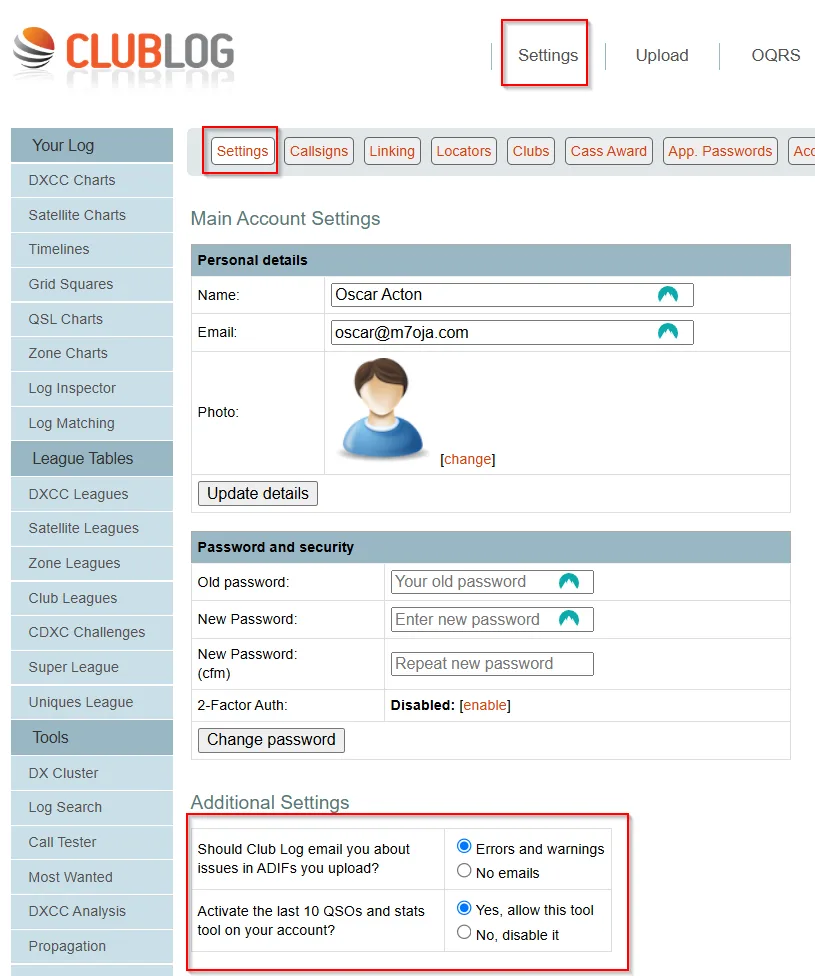
Once on the page, tick “Yes, allow this tool” under “Activate the last 10 QSOs and stats tool on your account?“.
If you wish to enable the OQRS tool on your account, visit the OQRS tab as below:
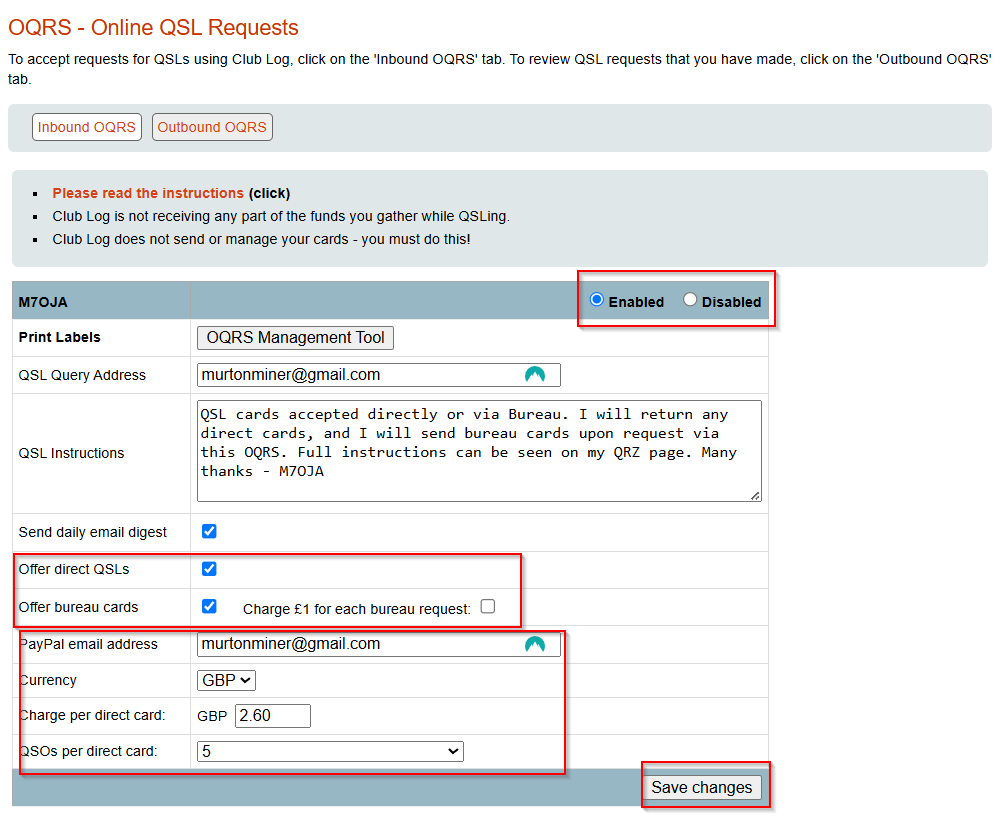
Select whether or not you will accept OQRS requests. If you enable this feature, type your QSL instructions, and choose between direct, bureau (or both). If you accept bureau requests, you can choose between offering these for free or for a fixed fee of £1. If you choose to accept direct requests, you can choose how much to charge and in which currency. You must have a PayPal account for this, and you must provide your PayPal email ID. Click Save to store your preferences.
Following the steps above, you are now ready to prepare the embed for your QRZ page. You can view the source code to copy HERE (link opens in new tab). See the screenshot below:
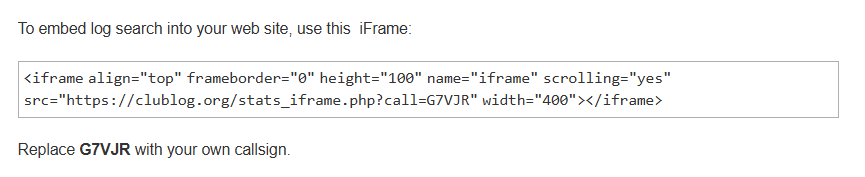
Don’t forget to replace the sample callsign to your own once you have copied and pasted the code in the website above. After saving your biography, it should look something like this:
You can also choose to display the last 10 QSOs in your log as well as the log search tool. You can read how to do this HERE (link opens in new tab).
Parks on the Air (POTA)
Thanks to WD4DAN, a widget is available to embed your POTA statistics directly into your QRZ Biography. There are several widgets to choose from, whether you are a hunter, activator or both.
Ensure that you have created an account on the POTA website HERE (link opens in new tab). POTA contacts are uploaded by the activator, so if you are a hunter, they will show up automatically.
Visit the WD4DAN page HERE and choose your embed. Please remember to change your callsign from “YOURCALL” to your own callsign. Follow the instructions as given previously to embed the source code to your QRZ page. You may also need to change the Width or Height depending on the format of your QRZ page.
If you have successfully set this up in your QRZ Biography, it should look something like this:
Other Embeds
There are several other tools across the internet available to embed into your QRZ page. A few examples are below.
Weather Info
You can embed the live weather information at your home QTH (or any other location) into your QRZ page.
To set this up, visit the Weather&Radar website HERE (link opens in new tab) and search for the location of your choice. Then, copy the source code into your QRZ biography. If you have done this successfully, it should look like this:
Solar Info
Via the HamQSL website, you can embed live solar data to your QRZ page. There are numerous banners to choose from. Simply choose your banner, copy the source code to your QRZ biography and save. It should look something like this:
Summary
Hopefully you have been able to format your QRZ page with the required information and add some useful embeds and information to enhance your page.
I hope you found this guide useful. If so, I would really appreciate it if you could leave a comment, rate the page using the rating tool and share it with your friends or on social media. My website is fairly new and doesn’t get much traffic at the moment. By engaging with the content (sharing/comments), Google will analyse this and boost traffic to the site. This will support me in providing free content to amateur radio stations.
73 for now!
Oscar M7OJA
6 responses to “Improving your QRZ Page – A Guide to Embedding and Formatting”
-
For displaying weather from “Weather and Radar, how can I get the temperature in English units Degrees “F” in the code. It currently does degrees Celsius only.
-
I believe if you make an account, you can change this setting in your account and then link it to the website via their API.
-
-
Hello, i am interest to add on my website a life greyline map. Is this possible
-
Hello,
I’m not sure if there is a site that does this I’m afraid – I haven’t come across any.
I’ll let you know if I manage to find one.
73
-
-
Hi there,
I tried to embed weather Info in my home into my QRZ page following your instructions without success
I took the source code from the Weather&Radar website.Then I copied it into my QRZ biography bu it is not shown as the image but just the source code instead. Is there something I have to do before to get the right image? Thanks for your help
73’s
EA4IIS-
Hello!
When you pasted the source code, could you see your biography itself or could you see the actual source code of the QRZ bio?
Sometimes, if you don’t click “edit source” before pasting, the source code appears as writing on the live biography.If you have tried that without success, it could be because the location in the weather&radar service is incorrect. Sometimes if you type it
but not click on a location from the drop down list, it does not recognise and that may cause a problem.However, it seems that the problem is more along the lines of the QRZ page itself, so please try pasting it within the “edit source” tab on QRZ.
Failing that, feel free to drop me an email to explore further.Take care and 73,
Oscar M7OJA
-
Leave a Reply